
Homemade Fortune Cookies
/
This warmer weather in Baltimore has us craving summer. Parents with foodie kids: you'll be super happy to know we've just posted a ton of summer camps for kids and teens! The classes will be an amazing introduction to kitchen fundamentals, baking and international cuisines. They're designed to challenge your kids, but also empower them with the skills they need to master the kitchen.
To tide you over until our summer camps, here's a weekend baking project you can do with your kids at home! This how-to for homemade fortune cookies is so sweet and fun -- you handle the baking, while your kids create the fortune!

You'll need:
4 large egg whites
1 c. superfine sugar (or granulated sugar, put through a grinder)
1 c. sifted flour
pinch of salt
5 tbsp. melted butter
3 tbsp. heavy cream
1 tsp. vanilla
+silicone baking sheet
+cereal box (to make the stencil)
+parchment paper (for fortunes)
+offset spatula (for spreading batter)
+large bowl or cup (for shaping cookie)
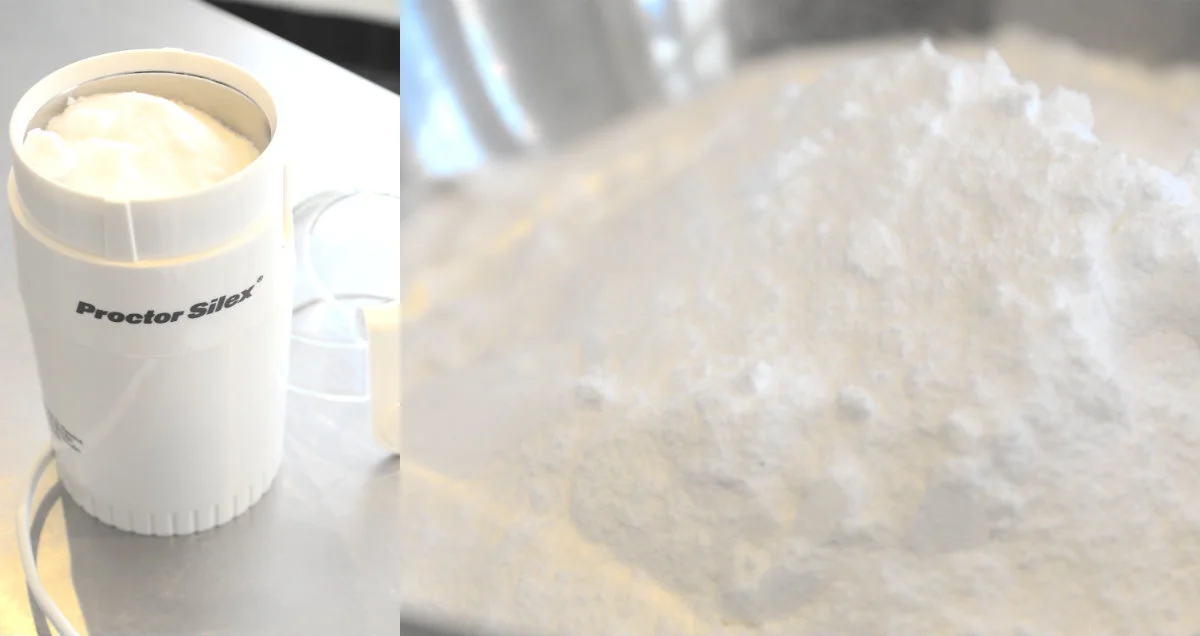
You don't have to buy superfine sugar -- you can make it! You can put regular white sugar through your coffee or spice grinder. After it's ground, it should be powdery. You need the sugar to be superfine so it will dissolve faster in the oven. Superfine sugar is used in recipes that are meant to be airy: meringues and angel food cakes... and fortune cookies!

Making a fortune cookie stencil is a cinch. We used a cereal box because it is the perfect thickness, so anything about that thick will work. Cut out a 5 wide circle.

For the fortunes, cut out strips of parchment paper about 3 inches by 1/4 inch. Try writing on them with a permanent marker or an archival pen. Word to the wise: don't use regular paper for this as it will bake into the cookie.
1. Preheat oven to 400 degrees.
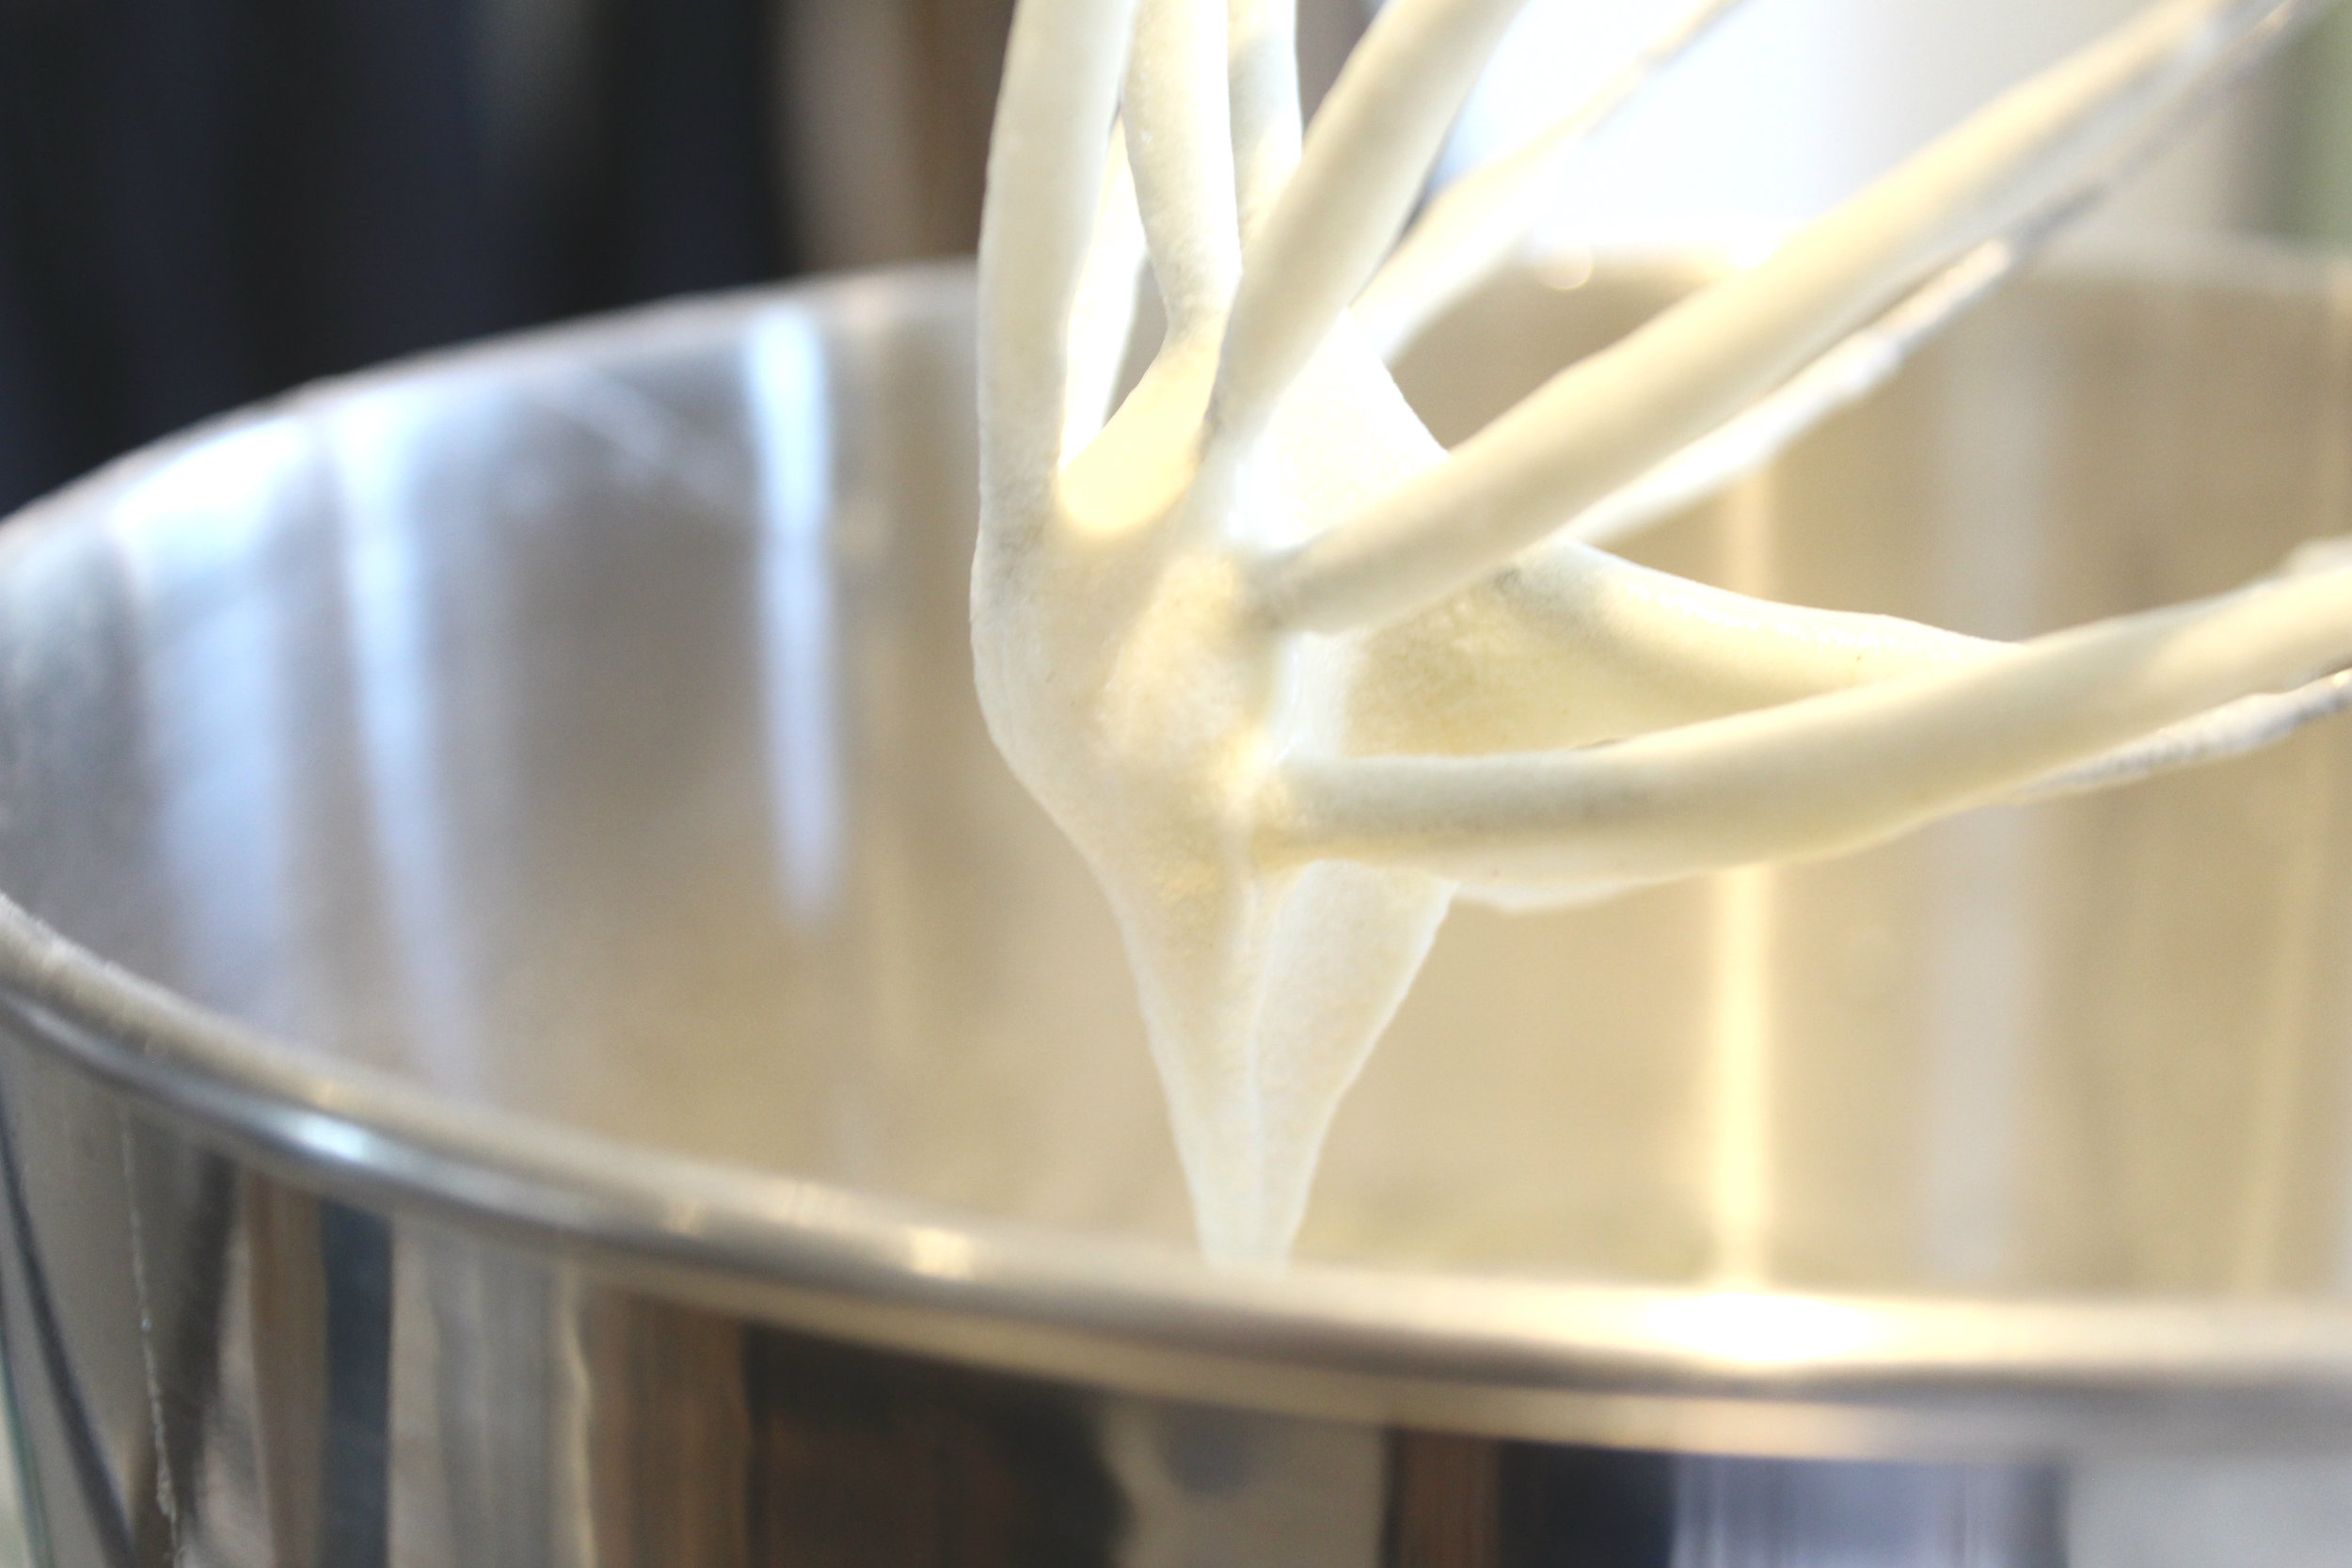
2. Whip egg whites and sugar on medium speed for about 30 seconds, until you see a lot of tiny bubbles.
3. Add in sifted flour and salt, mix until combined.
4. Add melted butter, heavy cream and vanilla. Mix until combined.


5. Line baking pan with silicone mat.
6. Scoop about 2 tablespoons of batter into the center of your stencil; spread around with spatula. Lift stencil to see perfect batter circles. There are two batter circles on our mat, but we suggest starting with one at a time until you get the hang of it.
7. Bake for 6 minutes, or until edges are golden brown. IMPORTANT NOTE: When you get the cookies out of the oven, you only have about 10 seconds to shape it. The cookie is so thin, it hardens very quickly -- so you have to work quickly!

8. Pull from oven; slide spatula under cookie to loosen from mat. Place fortune in the middle of the cookie and quickly bring edges of cookie together like a burrito. Fold cookie in half over the edge of your bowl or cup.
Think of your first couple cookies as practice runs. You'll figure out how quickly you need to work and how to fold the cookie. It's also helpful to cut a circle out of a piece of paper and practice folding it to get that muscle memory.


If you try your hand at these adorable cookies, let us know. We'd love to see your pictures!